Monday, February 28, 2011

Supply List for Paper Transformed - Basic Water Marbling


I know, I know, I really have to start updating my blog on a regular basis. Once I started making videos on You Tube, my blog kind of fell by the wayside. But, now that I'm starting a new video series, I plan to stay on track so that you all can come here and find supply lists and see the results of my latest paper experiments.

For those of you who don't watch me on You Tube, I'm starting a new video series. It's based on the book "Paper Transformed" by Julia Andrus. It's chock full of techniques and different surface design recipes. A GREAT book for all of you technique junkies out there.

Tomorrow I'm starting with the first technique.....Basic Water Marbling. Here's a list of the supplies you will need if you want to follow along.
  • Watercolor paper or rice paper (these are papers that hold up best in water and are best designed to grab pigments)

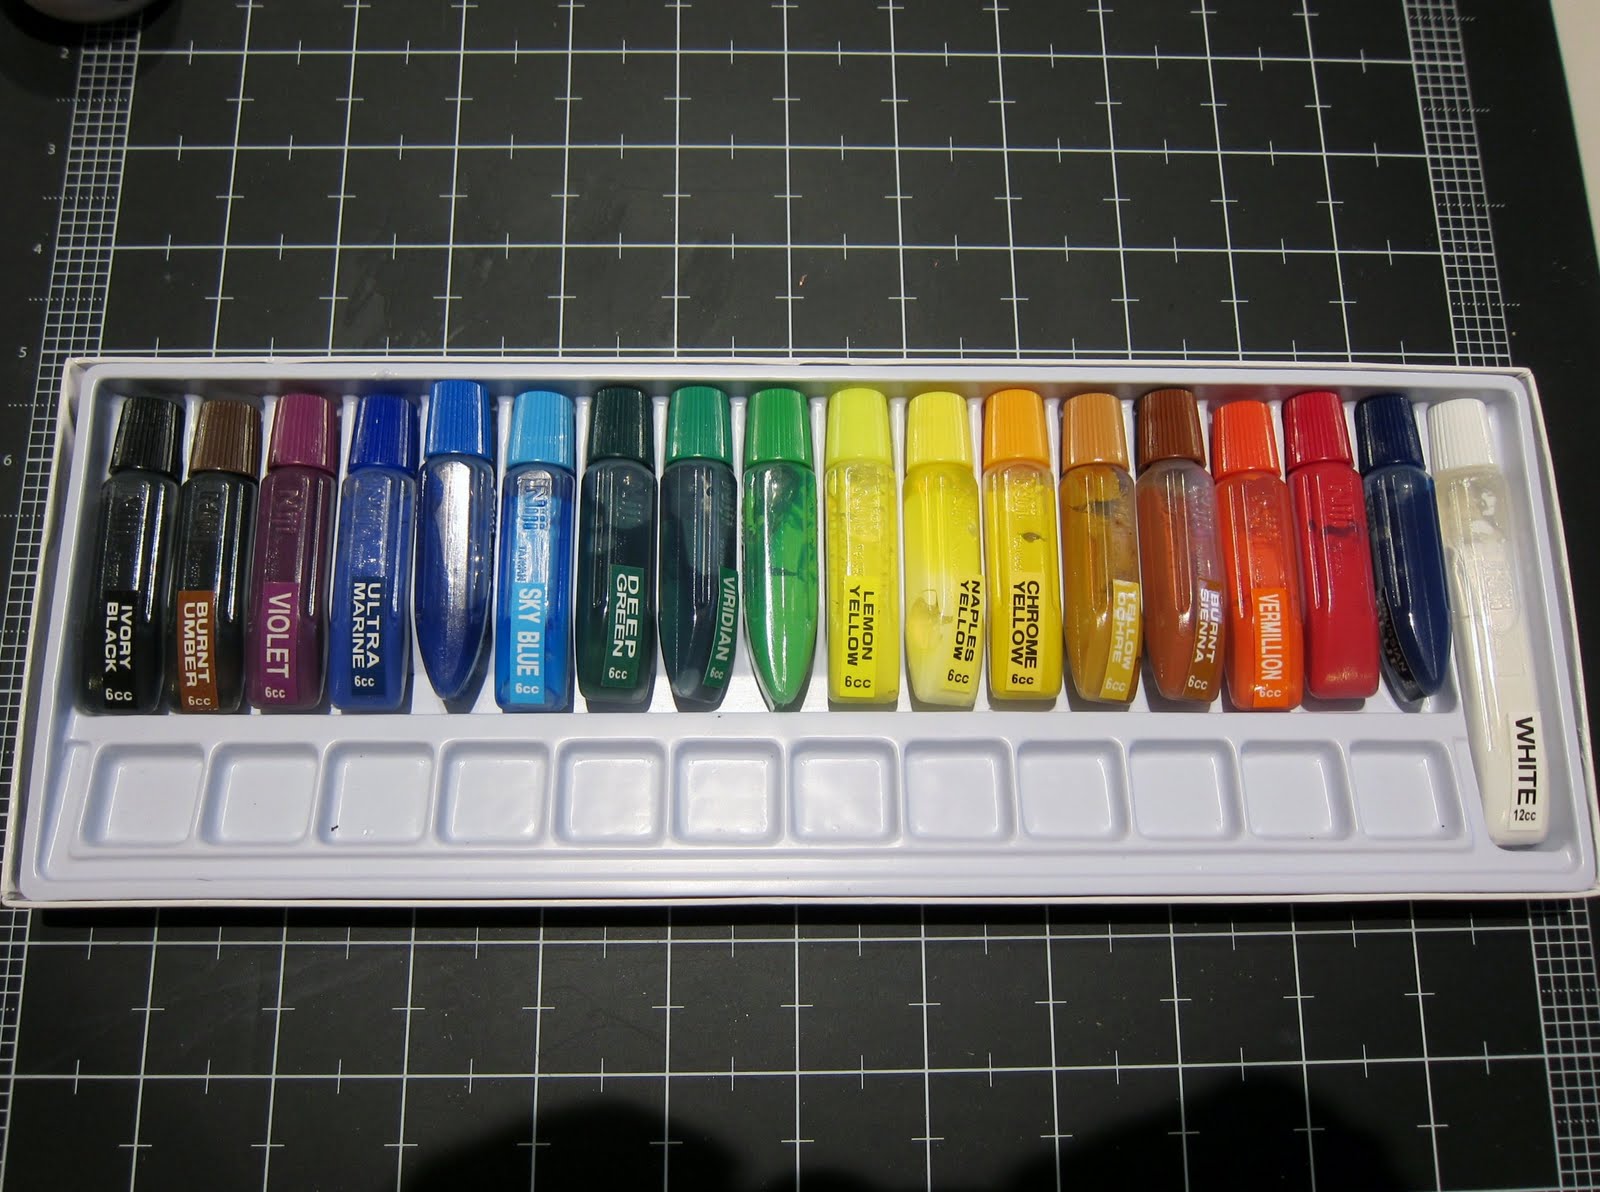
  • Watercolors - no more than 2-3 colors at a time or the water will get muddy

  • Glass plate or shallow baking dish (I'm using a shallow plastic dish I found at the dollar store)

  • Mordant solution (don't be scared! I'll explain this one.)

I did do some experimenting today and found that my watercolor paper wasn't really picking up the pigments very well. I tried a number of different types of pigment, and the only ones that were really picked up by the paper were Distress Ink reinkers. I tried concentrated watercolors, tube watercolors that I thinned down, and even Starburst Stains.

Julia says in her book that cold pressed watercolor paper works best, and should pick up color, but if not, you can treat the paper with a mordant solution. This is a simple solution that is brushed on your paper and helps the pigments grab onto the paper. All you need to make this is some hot water and some alum. Alum is a type of salt that is most commonly used in pickle making! But we're going to use it on paper. It can be found in the spice aisle of your local grocery store.

The book says to mix 2 cups of hot water with 2 tablespoons of alum. This is fine if you're planning on treating a LOT of paper, but I would halve or even quarter this recipe. I'm not quite sure if you can store this solution and use it later, so for now, I would recommend making it in small batches.

Once the alum has dissolved in the hot water, brush it on one side of the paper that you want treated. Mark the untreated side of the paper lightly with a pencil, (I drew a large X), so that you will know later on which side has the mordant on it. Lay the wet paper aside and let it air dry.

Now you are ready to try water marbling! Stay tuned for my first video and we'll see what kind of results we can achieve. I don't know what the outcome will be, but that's part of the fun!

Hope you can play along!!

Friday, November 26, 2010

Very Thankful


I hope everyone had a wonderful Thanksgiving. I know I did. We had my husband's family over and I cooked. I was finally smart enough to do a lot of things ahead of time, so everthing went very smoothly. We pigged out on turkey, mashed and sweet potatoes, stuffing, corn, cranberry sauce and lots of outrageous desserts. My favorite was the apple crisp pie....YUM!

This was a card I created a few weeks ago after my friend Mary Jo sent me this beautiful stamped image. I think it's by Just Rite. I don't have any copic markers, so I tried my hand at coloring with Distress Inks and a water brush. I think I did ok for my first time. After I colored the image, I sponged the edges with Vintage Photo Distress Ink. I mounted it with foam tape on some DCWV paper from the Indian Summer collection. I had already embellished the paper with some paper tape from K& Company, as well as some glittered foam leaves and some colored Dewdrops I had in my stash. I mounted the plaid mat to a standard size DCWV card....the card was also from their Indian Summer collection.

In addition to being thankful for my family and friends, I'm also thankful for the opportunity to start a blog this year, start my own You Tube channel, and meet a lot of wonderful people who share my passion for crafting. All of you have been so kind and supportive these past few months, and I couldn't ask for anything more!

Wednesday, November 17, 2010

My Poor Forgotten Blog


Time really does fly when you're having fun! Shortly after I started my blog, I discovered You Tube. I was having such a blast making videos, that I forgot all about my poor little blog. So, I'm going to try and make up for lost time. Here's a fall card that I featured in one of my videos. I was walking down my driveway to put my daughter on the bus, and I noticed how pretty all the leaves were that were scattered on the ground. I picked up a couple, and as I walked back to my house, I had a little brainstorm. I decided to make a leaf print background. First, I made sure that the leaf I picked were still pretty pliable. Then I inked up the back of the leaf with Versamark. Once I placed it on the cardstock, I used my brayer to get good, even coverage. I stamped the leaf print a few times, added some copper embossing powder, and then heat set it. As a final touch, I colored the cardstock with different shades of distress ink.

To embellish the cardstock, I cut out a label from one of my Spellbinders dies. The brown patterned paper is from the DCWV Indian Summer collection. I wrapped some metallic gold thread around it, added the cream colored cardstock label with the sentiment, and added copper ribbon loops and satin ribbon to the sides.

A simple card to celebrate the season!

Saturday, August 14, 2010

B is for Bridget


My Yahoo group recently had a new member join a couple months ago. I was happy that she decided to jump right in and join the secret product swap that I host every month. I decided to be her first secret swapper, and since I wanted to give her a big welcome, I filled a big box of goodies for her and I also embellished this little initial for her.


I found this styrofoam "B" at Michael's. I painted it purple (Bridget's favorite color) with an Adirondack paint dabber. To get into the nooks and crannies, I took the top off the bottle and used a paintbrush. I embellished it with a Prima flower, some Prima bling and a little crown. I also stamped a flourish background on the letter with white ink.


Welcome Bridget, we're so glad you joined us!

Wednesday, July 14, 2010


It's funny how sometimes the simpler projects end up being your favorites. That's the case with this card. It's very simple, but for some reason, it's remained one of my faves. I think the other reason I like it is because it's one of the few that actually came together quickly! For me, quickly isn't usually a word I associate with my crafting!


The background paper is from Basic Grey and I inked around the edges a little with Broken China Distress Ink. I added a strip of black magic mesh and a strip of felt border over that. The felt border was bright white, so I pounced on some more distress ink to tone it down (I can't remember which color, but it was probably Tea Dye or Frayed Burlap).


The butterfly stamp is from Hero Arts. I stamped it with Versamark on a piece of glossy paper that I had previously colored with alcohol inks. I like to make a bunch of background papers ahead of time so I have them on hand when I need them. I embossed the image with black embossing powder, cut it out and mounted it on the felt border with a foam dot. I finished the card by adding a little bling to the felt and stamping the sentiment.
Quick and easy!


Friday, July 9, 2010

Sparkly Dragonfly Card


The heat wave here in the east is finally starting to subside! Needless to say, we didn't spend much time outdoors this week. So, I had a little time to make this card. My initial plan for this project was to make a black and white card, but somehow it evolved into this. I embossed the background with my circles Cuttlebug folder. Then I found a white Spellbinders die cut in my stash and stamped the dragonfly. Thanks to my new friend Jo (at http://www.jpodinc.blogspot.com/), I went to Michael's this week where a bottle of Marcasite embossing powder jumped into my basket! Since it followed me home, I decided to emboss the dragonfly with it. It's hard to tell in the pics, but the image ends up having a lot of sparkle to it. Then I added some flourishes in black ink. Because the whole black and white idea wasn't working for me, I added distress inks to the background. I used Broken China, Peeled Paint and Dusty Concord. Then I used my exacto knife to cut around the wings and pop them up for some dimension. My daugter told me it looked like a dragonfly kite, so I added the three ribbons at the bottom. The last touch was to add some Opalite inks around the edge to make it pop a little.

I've had some Opalite pads for a while now, but I never really used them. They're great! They're interference pigment inks and when you open the lid, all the pads look white. But, when you apply the ink to dark paper.....MAGIC happens! It's kind of like having Perfect Pearls in an ink pad. I'll definitely be using these more in the future.

To get a better view of the Marcasite embossing powder, you can watch Jo's video that she made to show off her beautiful Paris themed tags that she made for the tag swap we were both in.


She's very talented! Hi Jo!

Happy crafting and stay cool in this summer weather!

Monday, July 5, 2010

Butterfly Card with Outline Stickers


I hope everyone had a Happy 4th of July yesterday. We were fortunate enough to be invited to a friend's house who lives in Secaucus, NJ to watch the Macy's Fireworks Spectacular. The view from her house was AMAZING. I recorded a small portion of them and put it on my You Tube channel. You can watch it here:


Since I'm such a butterfly fan, I wanted to make a card that had a large butterfly as the focal point. I used a DCWV textured card for the base and I tried stamping it with Versamark using a harlequin stamp, but it didn't show up very well. I added a piece of purple cardstock that was cut with a nestibilities die and then run through the swirl folder of my cuttlebug. After I inked the high spots with a darker purple ink, I traced the edge of the diecut with an embossing pen and then heat embossed it with gold embossing powder. The gorgeous butterfly sticker was mounted on a piece of handmade paper and then I cut around it. For the finishing touches, I added some bling to the butterfly's wings and tied some fiber around the fold of the card. I adhered the butterfly's body down flat with adhesive and popped up the wings with some foam dots to give it some dimension. Then I added the sentiment with another sticker.


I know a lot of you have seen similar stickers on the Paper Wishes site under the brand name "Dazzles". I have purchased some of these, but most of my Outline sticker collection came from a great company called Pop Ups by Plane Class. They have a great selection, including Dazzles, and I'm fortunate enough to see them at a stamp show I attend every year. Here's a link to their site:


Be sure to check them out. In addition to their sticker line, they also carry metal templates and a gorgeous selection of specialty paper! They have a wonderful gallery of cards to get ideas from as well as some video tutorials.